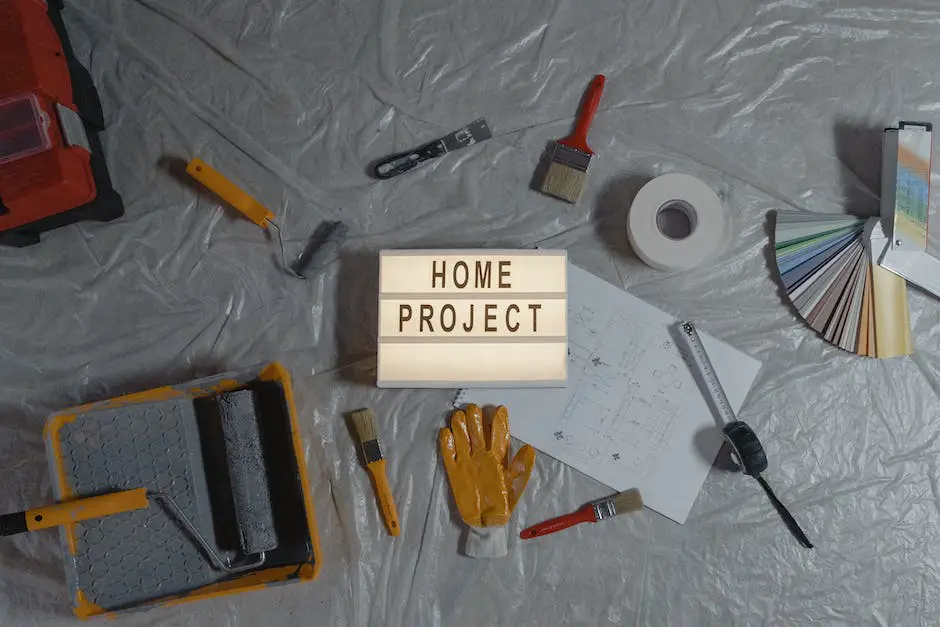
Embarking on a journey to understand and perform DIY projects and home improvements can be immensely rewarding, fostering a sense of self-reliance and accomplishment. The acquisition of these skills not only offers practical solutions but also opens a creative outlet that many women will find empowering. This compilation introduces a wide spectrum of tasks and techniques, designed specifically with beginners in mind. Spanning the basics of power tools, navigating home electrical systems, carpentry tips for novices, and plumbing essentials, this guide aims to provide the groundwork that demystifies the realm of home improvement.
Introduction to Basic Power Tools
Understanding Basic Power Tools
Power tools are essential in home improvement and DIY projects. Whether you are a professional or a novice DIY enthusiast, understanding the use and safety precautions of various power tools is a prerequisite to handling them efficiently and safely.
Types of Power Tools and Their Uses
There are multiple types of power tools, each designed for specific functions. Here’s a brief overview of the most commonly used power tools:
- Drills: Drills are used for boring holes into wooden or metallic materials. They come in various types like cordless, hammer, rotary, impact drivers, and more, used based on the nature and scope of the project.
- Saws: There are multiple types of saws for different cutting needs. Circular saws are ideal for straight cuts on wood, while jigsaws are for more intricate cuts. Reciprocating saws, miter saws and table saws are also common in woodworking and construction.
- Sanders: Sanders help smoothen rough surfaces. The most common types include belt sanders, disc sanders, and orbital sanders.
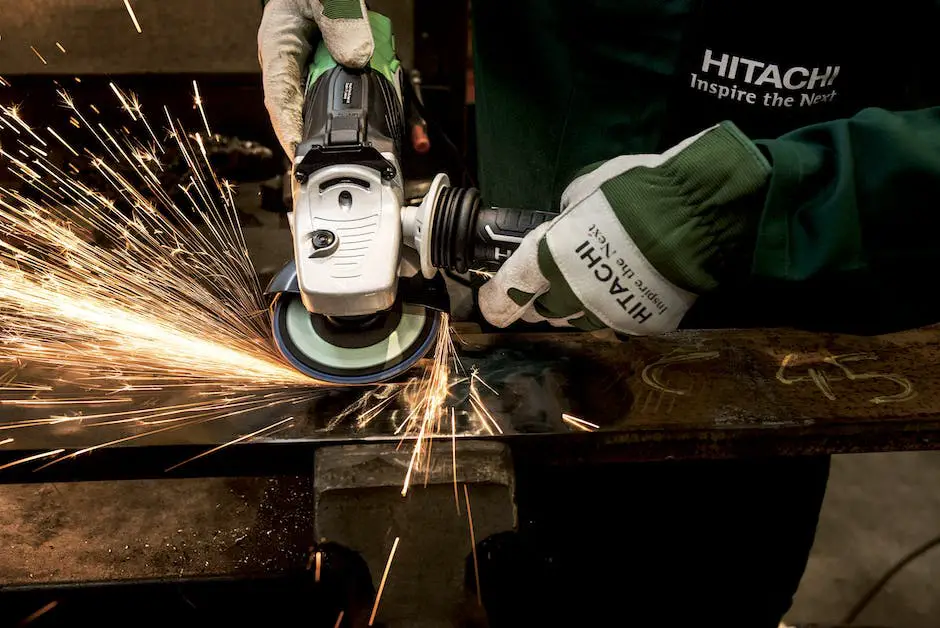
- Grinders: Grinders come in handy for cutting, grinding, and polishing materials like metal, tile, and stone.
- Nail Guns: A power nailer or nail gun makes driving nails faster and easier, especially in large projects that would require a lot of hammering.
Power Tools Safety Precautions
Safety should be your first consideration while working with power tools. Here are some crucial safety tips:
- Always wear the proper safety gear, including goggles, gloves, sturdy shoes, and ear protection.
- Ensure that all tools are unplugged when not in use and when changing attachments.
- Never use power tools near flammable substances.
- Keep your working area well-lit to see what you’re doing.
- Always use tools as instructed in their manual. Avoid forcing a tool to perform a job it’s not designed to do.
Applying Tools in Home Improvement Projects
Understanding practical applications of power tools in home improvement can help you choose the right tool for your DIY tasks. For example:
- Drills can be used for fitting blinds and curtains, setting up furniture, hanging pictures, or installing a TV bracket.
- Saws are essential for crafting furniture, cutting baseboards, installing decking, or even setting up a treehouse.
- Sanders help prepare furniture for painting or varnishing, restoring old wooden surfaces, or smoothing out a drywall joint.
- Grinders can be used for cutting tiles for bathroom or kitchen renovations, or polishing a metallic surface for a more refined finish.
- Nail Guns make jobs like roofing, putting up drywall, or installing baseboards much easier and quicker.
The key to successful DIY projects lies in understanding the job to be done, choosing the right tool and taking safety precautions seriously. Always ensure that you read and understand the tool manufacturer’s instructions before starting any project.
Basics of Home Electrical Systems
Understanding Your Home’s Electrical System
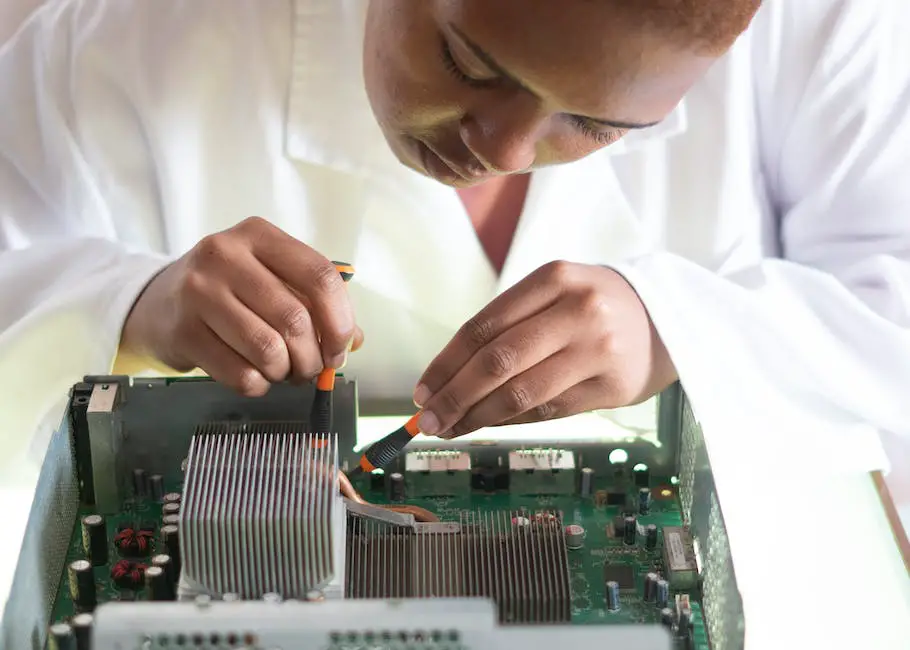
Knowledge of your home’s electrical system is crucial, especially when undertaking DIY projects. The electrical system has four primary parts – the electrical service entrance, the main breaker panel, circuits, and outlets. The electrical service entrance is the point where power enters your home from the utility company. This then branches out to the main breaker panel, which acts as a control center where electricity is distributed throughout the house. Each circuit in your home is protected by a breaker that cuts power in case of overloading. Lastly, electricity travels from the circuits to outlets to provide power for lights and appliances.
Changing Fuses with Safety
Fuses are crucial in protecting your home’s electrical system from overloading. To safely change them, you first need to locate your home’s fuse box. Once you find it, make sure to switch off the main power supply before beginning the process. It’s wise to use a flashlight for better visibility. To change the fuse, unscrew it in a counterclockwise direction. Replace it with a new one of the same rating by screwing it in clockwise. Once you have replaced the faulty fuse, switch the main power back on to test if the replacement was successful.
Wiring a Plug
Wiring a plug isn’t as daunting as it may sound. First, strip back approximately 13mm of the cable using wire strippers. You should see three wires – brown (live), blue (neutral), and green/yellow (earth). Open your plug to reveal the terminal screws. Attach each wire to the appropriate terminal (brown to live (L), blue to neutral (N), and green/yellow to earth (E)) and tighten the screws to secure them. Before closing the plug, ensure that the cable grip is firmly holding the sheathing of the cable rather than the individual wires.
Installing a Light Fixture
When installing a light fixture, the first step is to ensure that you’ve switched off the power at the main breaker panel. Next, remove the old fixture by unscrewing it while ensuring to keep all hardware intact. Disconnect the existing wires by twisting the wire connectors (also called wire nuts) off in a counterclockwise direction. To install the new light fixture, start by connecting the ground wire from your fixture with the ground wire from your junction box. Twist the wire connector on in a clockwise direction.
Next, connect the white wire from your fixture with the white wire from your junction box, and do the same for the black wires. Attach the fixture to the mounting bracket with the hardware that came with it. Once installed, reestablish the power and flip the light switch to test it.
Necessity of Knowing Basic Electrical Tasks
Embracing these basic electrical tasks not only allows you to take on DIY projects more confidently, but also aids in ensuring the safety of your home. Always remember to shut off power at your main breaker panel before starting any electrical task to prevent the risk of electric shock. Over time, you might find that these essential skills can save you both time and money when it comes to home maintenance and improvements.
Practical Carpentry for Beginners
Understanding Basic Carpentry Tools
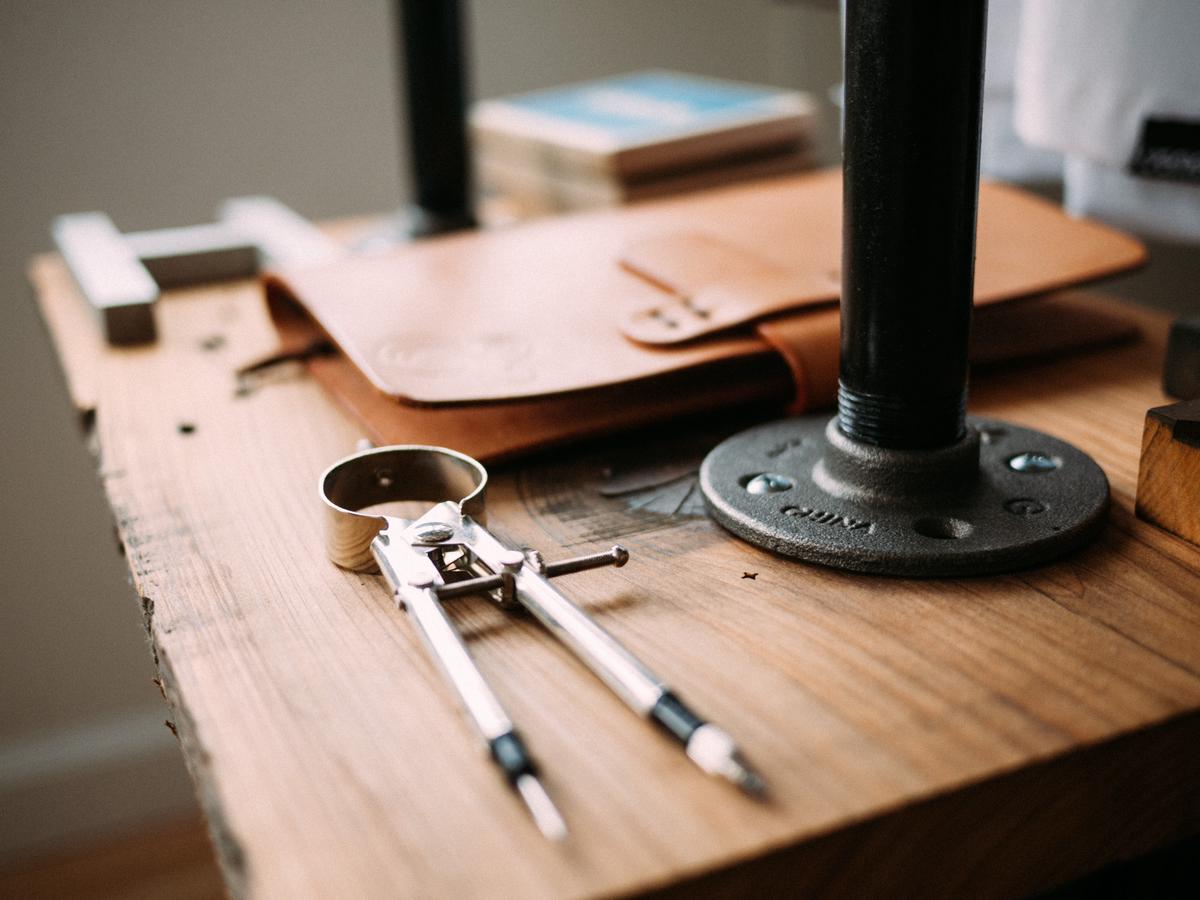
Before embarking on your journey into basic carpentry, you’ll need to familiarize yourself with some of the essential tools. Hand tools are ideal for beginners and can include a carpenter’s pencil for marking, a tape measure for precise measurements, a utility knife, a straight edge ruler, and saws (such as a hand saw or jigsaw) for cutting wood. A level and square are also valuable tools for ensuring your structures are symmetrical and level. A cordless drill could be beneficial for installing shelves, doors, and other fixtures.
Measuring and Cutting Wood
Accurate measuring and cutting is a fundamental aspect of carpentry work. When measuring, always double-check your markings before proceeding to cut. Remember that the old carpentry adage, “Measure twice, cut once,” exists for a reason. Measure from the edge of your wood to the location where you want to make the cut. Next, use a carpenter’s pencil to indicate this length on the wood. A square can be helpful to ensure that your lines are perfectly perpendicular to the edge of the piece. Afterward, secure your piece and carefully cut along the mark with your saw, continually checking to ensure you are staying on track.
Installing Shelves
Shelf installation is a practical beginner’s project. Begin by identifying where you want the shelf and mark this on your wall, ensuring it’s level. When you’re satisfied with the positioning, mark the location of the shelf brackets and drill holes into the wall. Afterward, screw the brackets into these holes. Before placing the shelf onto the bracket, ensure they are both level. The shelf can now be screwed into the brackets.
Repairing Wooden Furniture
Wooden furniture repair can be a useful skill, especially for antique or sentimental pieces. For minor scratches, try using a touch-up pen or crayon in a color that closely matches the furniture. More prominent damages, like gouges or cracks, may require a wood filler. Once the filler has dried, sand it down until it’s flush with the surrounding surface and then paint or stain to match the original color.
Building on Your Carpentry Skills
After mastering these fundamental projects, you can start tackling larger DIY projects like building furniture or even minor home construction tasks. Always remember to prioritize safety. Use proper protective gear, and don’t rush when cutting or drilling. Carpentry can be a rewarding hobby that not only enables you to create and mend but also adds a personal touch to your home.
Plumbing Essentials
Understanding the Basics of Plumbing
Plumbing systems consist of pipes, valves, and fixtures that allow water to be directed to different areas within the home. Three basic aspects are: water supply, heating systems and drainage. The water supply brings fresh water in, heating systems create hot water, and drains carry away wastewater. Familiarize yourself with these components in your home.
Dealing with a Leaky Faucet
Turn off the water supply before you start this or any plumbing task to avoid flooding. To fix a leaky faucet, remove the cap or knob by using a screwdriver. Once you’ve removed it, you’ll find a screw that holds the handle on the plug. Remove this. Pull out the plug. You’ll see a nut that keeps the internal parts secure, use a wrench to remove this. Once it’s removed, you’ll see the stem. Take the stem out and you’ll see a washer. If the washer is damaged, replace it. This is usually what causes a tap to leak.
Unclogging a Drain
Kitchen sink and bathroom drains can often become clogged due to hair, grease, soap scum, or other debris. Use a plunger first. If the plunger does not work, a chemical drain cleaner or a plumber’s snake tool can be used to break through the blockage. Always be aware that the chemicals are hazardous and should be used with caution. Safety glasses and gloves are highly recommended when using chemical drain cleaners.
Installing a New Shower Head
For this, remove the old shower head with a wrench. Once you’ve taken off the old head, clean the threading and use Teflon tape to wrap around it. This helps to create a tight seal and prevent leaks. Then, you’ll take your new shower head and start to screw it onto the threading. Tighten the new shower head onto the pipes. Turn on the water to make sure there are no leaks. If water is coming out from behind the shower head, more Teflon tape may be needed.
Learning Plumbing Can Save Time and Money
Although it may seem daunting, basic plumbing is not overly difficult to learn. By understanding the components of home plumbing, knowing how to fix a leaky faucet, unclogging a drain, and being able to install a new shower head, you can save yourself time and money from calling a professional for every small issue that arises. You’ll also gain the satisfaction of fixing the problem yourself.

With this newly instilled knowledge, you now possess the fundamentals required to confidently tackle a variety of at-home projects. The accomplishment of these tasks will not only add value to your living spaces but also instil a sense of pride in your abilities to perform these traditionally intimidating tasks. Remember, every home improvement journey begins with a single step. By conquering the complexities of your home’s systems and tools, you’ve equipped yourself with a toolbox of knowledge that will serve you well in all future endeavours. Continue to learn, grow, and build, for your home improvement journey is just beginning.
